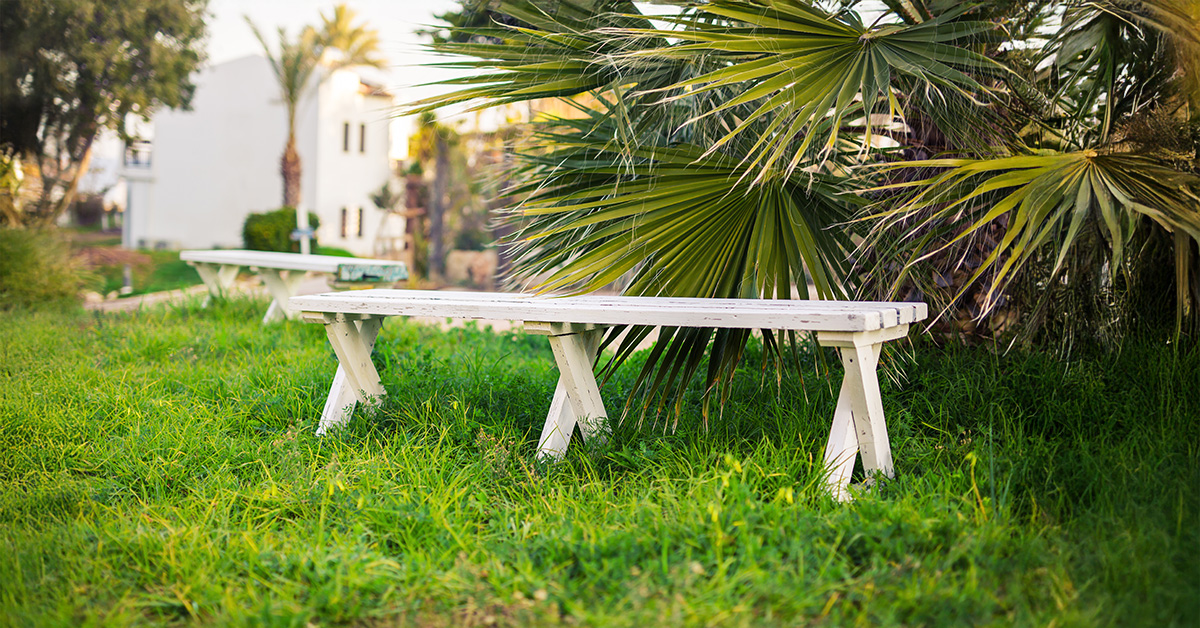
An outdoor bench is the perfect addition to any garden, patio, or balcony. Whether you need extra seating, a decorative feature, or a cozy nook, a DIY wooden bench is easy to build, budget-friendly, and stylish.
In this guide, you’ll learn:
✔ How to build a sturdy outdoor bench with basic tools
✔ Step-by-step instructions for beginners
✔ Creative design ideas to match your garden style
Let’s create a beautiful, custom bench in just one weekend!
1. Why Build Your Own Outdoor Bench?
Building your own bench gives you full control over the style, size, and materials—and it’s much cheaper than buying one!
✔ Budget-Friendly – Costs much less than store-bought benches.
✔ Customizable – Choose the size, wood type, and finish.
✔ Sturdy & Durable – Handmade = better quality than many factory-made options.
✔ Beginner-Friendly DIY – No advanced skills needed!
💡 Pro Tip: A DIY bench can double as extra storage—simply add a hinged seat!
2. Materials & Tools Needed
Materials:
📏 Wood Planks (2x4s or 2x6s) – Cedar, pine, or reclaimed wood.
🔩 Wood Screws & Nails – At least 2.5-inch screws for strength.
🎨 Wood Stain or Weatherproof Paint – For protection & style.
🪵 Sandpaper – Smooths rough edges.
🛏️ Cushions (Optional) – Adds comfort & personality.
Tools:
🪚 Saw – Circular saw or handsaw for cutting wood.
🔨 Hammer or Drill – For securing screws.
📏 Measuring Tape & Pencil – For precise cuts.
🔧 Clamps – To hold wood in place while assembling.
💡 Tip: If you don’t have a saw, many hardware stores will cut the wood for you!
3. Step-by-Step Guide to Building Your Outdoor Bench
Step 1: Choose Your Bench Style & Dimensions
Decide if you want:
✔ A simple wooden bench (basic frame & seat)
✔ A rustic farmhouse bench (distressed wood)
✔ A modern minimalist bench (sleek, straight edges)
✔ A storage bench (with a flip-up seat for storage)
💡 Standard Bench Dimensions:
📏 Length: 4–6 feet (for 2–3 people)
📏 Depth: 14–18 inches (for comfortable seating)
📏 Height: 16–18 inches (standard seat height)
Step 2: Cut the Wood
For a basic 4-ft bench, you’ll need:
✔ (2) Seat Planks: 48″ (L) x 6″ (W)
✔ (4) Legs: 16″ (H) x 4″ (W)
✔ (2) Side Supports: 44″ (L) x 4″ (W)
✔ (2) Front & Back Supports: 14″ (L) x 4″ (W)
💡 Tip: Sand the edges before assembly to avoid splinters.
Step 3: Assemble the Frame
1️⃣ Attach the side supports to the legs using screws.
2️⃣ Secure the front & back supports for a sturdy frame.
3️⃣ Check that everything is square and even before moving on.
💡 Tip: Use wood glue in addition to screws for extra durability.
Step 4: Attach the Seat Planks
1️⃣ Lay the seat planks on top of the frame.
2️⃣ Space them ¼ inch apart for expansion in weather changes.
3️⃣ Secure with screws from the top.
💡 Tip: If using thicker wood (2x6s), countersink the screws for a cleaner look.
Step 5: Sand, Stain, or Paint
✔ For a rustic look: Use a dark wood stain.
✔ For a modern style: Go with sleek black or white paint.
✔ For a natural Boho feel: Use light-colored wood with a matte finish.
💡 Tip: Apply two coats of waterproof sealant for longevity!
Step 6: Add Cushions & Styling Touches
✔ Add an outdoor cushion for extra comfort.
✔ Place potted plants around the bench for a cozy feel.
✔ Use throw pillows to match your patio decor.
✔ Install the bench against a wall or tree for a shaded seating area.
💡 DIY Idea: Drape a macramé throw over the back for a Boho touch!
4. Creative Ways to Customize Your DIY Bench
🌿 Storage Bench – Add hinges to the seat for hidden storage.
🌊 Coastal Style Bench – Paint it soft blue or white for a beachy vibe.
🪑 Backrest Addition – Attach a reclaimed wood backrest for extra comfort.
🏡 Built-in Planter Box – Extend the bench with planters on each side.
💡 Tip: Personalize it with hand-painted designs, stencils, or carvings!
5. Where to Place Your Outdoor Bench
✔ Under a Tree – A shady, peaceful reading spot.
✔ By a Fire Pit – Cozy up with blankets and marshmallows!
✔ Against a Garden Wall – A space-saving seating idea.
✔ Near a Pond or Fountain – Enjoy the relaxing water sounds.
✔ At the Front Porch – A welcoming entryway feature.
💡 Tip: Place a small side table next to your bench for drinks, books, or decor.
6. Maintenance Tips for a Long-Lasting Bench
✅ Apply a fresh coat of stain or sealant every year to protect from weather.
✅ Store cushions indoors to prevent fading & mildew.
✅ Tighten screws annually to maintain stability.
✅ Cover with a tarp in extreme weather if left outside year-round.
💡 Tip: Cedar & teak wood are naturally weather-resistant and require less maintenance!
Final Thoughts: Your Dream Bench Awaits!
A DIY outdoor bench is simple, stylish, and practical—whether you’re creating a cozy reading nook, extra garden seating, or a rustic farmhouse bench. In just one weekend, you’ll have a handmade piece that adds character & charm to your outdoor space!
💬 Would you try building your own outdoor bench? Let me know in the comments! 💬
📌 Follow Chic Garden Whispers on Pinterest for More DIY Garden Projects! 🌿📌