Garden borders help define flower beds, pathways, and lawn edges, adding structure, beauty, and functionality to your outdoor space. Instead of buying expensive border materials, why not create your own stylish, budget-friendly garden edging?
In this guide, you’ll learn:
✔ Easy DIY garden border ideas using affordable materials
✔ Step-by-step instructions for different edging styles
✔ Tips for keeping garden borders neat & low-maintenance
Let’s get creative and frame your garden beautifully!
1. Why Use Garden Borders?
A well-defined garden edge improves the look & organization of your outdoor space.
✔ Keeps mulch & soil in place – No more messy spills into pathways.
✔ Prevents grass from creeping into flower beds.
✔ Adds a polished, decorative touch.
✔ Creates clear divisions between different garden areas.
✔ Helps with drainage & weed control.
💡 Pro Tip: Garden borders don’t have to be expensive! DIY options can be just as stylish & long-lasting.
2. Best DIY Garden Border Ideas
Brick Garden Edging (Classic & Timeless)
Cost: Low to Moderate
Skill Level: Beginner
✔ Why Use It? Durable, elegant, and easy to install.
🔨 How to Do It:
1️⃣ Dig a trench about 2-3 inches deep along the edge of your garden.
2️⃣ Lay bricks flat for a classic look OR angled for a more decorative touch.
3️⃣ Use sand or gravel underneath to level them.
4️⃣ Secure with a mallet and garden soil.
💡 Tip: Use reclaimed bricks for a rustic, eco-friendly look!
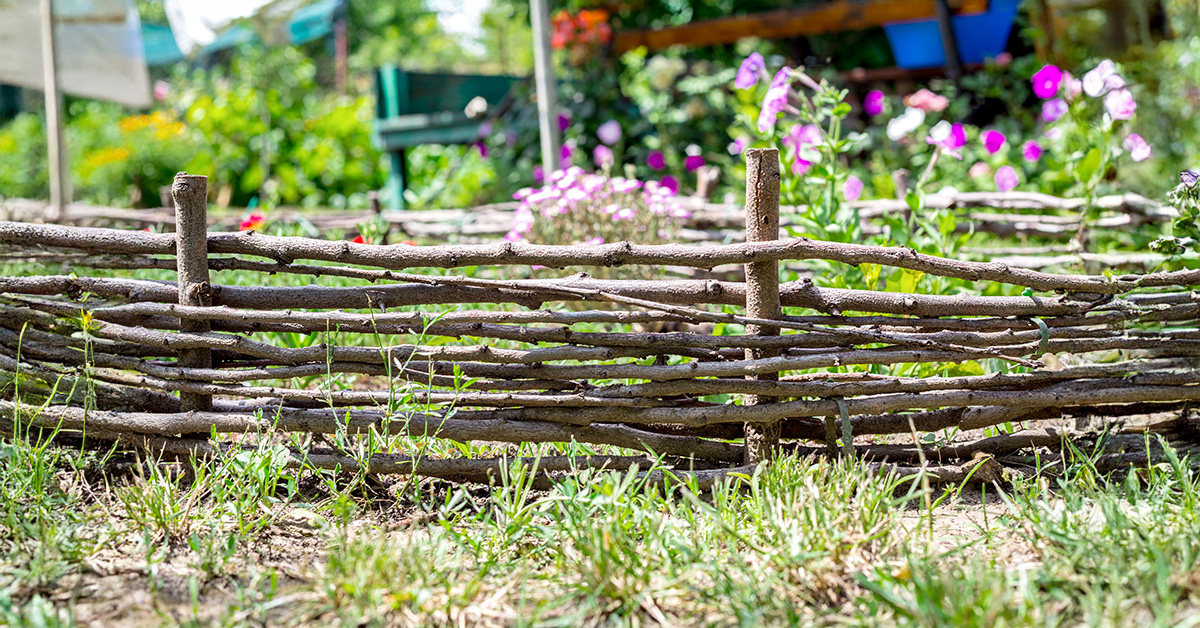
Wooden Log or Pallet Border (Rustic & Natural)
Cost: Free to Low
Skill Level: Beginner
✔ Why Use It? Ideal for cottage-style gardens & raised beds.
🔨 How to Do It:
1️⃣ Cut small logs or wooden pallets into equal lengths (about 8-12 inches tall).
2️⃣ Dig a shallow trench and place logs vertically side by side.
3️⃣ Hammer them into the ground for extra stability.
💡 Tip: Treat wood with a weatherproof sealant to prevent rotting.
Recycled Wine Bottle Border (Colorful & Eco-Friendly)
Cost: Free to Low
Skill Level: Beginner
✔ Why Use It? Adds a vibrant, artsy touch & reuses materials.
🔨 How to Do It:
1️⃣ Collect empty wine or glass bottles of similar height.
2️⃣ Dig a shallow trench along the garden edge.
3️⃣ Place bottles neck-down into the soil, pressing firmly.
4️⃣ Arrange by color for a stained-glass effect when sunlight hits!
💡 Tip: Use solar lights inside the bottles for a glowing night-time garden!
Stone or Pebble Border (Modern & Minimalist)
Cost: Moderate
Skill Level: Easy
✔ Why Use It? Low-maintenance & long-lasting.
🔨 How to Do It:
1️⃣ Dig a trench about 3 inches deep along the border.
2️⃣ Fill with crushed gravel or pebbles.
3️⃣ Line the edges with large river rocks or bricks for definition.
💡 Tip: Choose white or black pebbles for a sleek, modern look!
Metal or Corrugated Steel Border (Sleek & Durable)
Cost: Moderate
Skill Level: Intermediate
✔ Why Use It? Industrial-chic look with strong, long-lasting edges.
🔨 How to Do It:
1️⃣ Cut sheets of corrugated steel or metal edging into strips.
2️⃣ Dig a narrow trench and insert metal sheets vertically.
3️⃣ Secure with metal stakes or screws.
💡 Tip: This works great for raised garden beds & gives an urban, modern feel.
Upcycled Concrete or Cinder Blocks (Urban & Functional)
Cost: Free to Low
Skill Level: Beginner
✔ Why Use It? Great for raised beds & low-maintenance gardens.
🔨 How to Do It:
1️⃣ Arrange cinder blocks along the garden edge.
2️⃣ Fill the holes with soil & small plants (like succulents or herbs).
3️⃣ Stack them for extra height or keep a single layer for simple edging.
💡 Tip: Paint blocks in earthy tones for a stylish, modern touch!
Rope & Driftwood Border (Beachy & Coastal)
Cost: Free
Skill Level: Easy
✔ Why Use It? Perfect for coastal or relaxed Boho-style gardens.
🔨 How to Do It:
1️⃣ Collect driftwood logs & thick nautical rope.
2️⃣ Secure logs in the soil at equal distances apart.
3️⃣ Weave the rope between the logs for a wavy, beach-inspired look.
💡 Tip: Add seashells or sand-colored pebbles for extra beachy vibes!
3. Tips for Maintaining Garden Borders
Once your borders are set, keep them looking fresh & tidy with these tips:
✔ Trim the edges regularly – Prevents grass & weeds from creeping in.
✔ Reinforce materials annually – Wood, stones, or bricks may shift over time.
✔ Use weed barriers (like fabric or mulch) – Keeps unwanted plants out.
✔ Add a fresh coat of paint/sealant – Protects wood, bricks, and metal from weather damage.
✔ Replenish gravel or mulch – Keeps borders looking polished.
💡 Tip: Apply vinegar or boiling water along border edges to naturally prevent weed growth!
4. Choosing the Best Border for Your Garden Style
Here’s how to pick a garden border that fits your space:
🌾 Rustic Cottage Garden → Wooden logs, reclaimed bricks, or driftwood.
🏡 Modern & Minimalist → Metal, concrete blocks, or black pebbles.
🌿 Eco-Friendly & Upcycled → Wine bottles, repurposed wood, or stone.
🌊 Coastal & Boho-Chic → Rope, driftwood, and white sand pebbles.
💡 Tip: Mix different materials for a more creative & eclectic look!
Final Thoughts: Frame Your Garden with Style!
Adding a DIY garden border is an easy, affordable way to transform your outdoor space! Whether you prefer rustic wood, modern stone, or upcycled materials, the right border will enhance your garden’s beauty & functionality.
💬 Which garden border idea is your favorite? Let me know in the comments! 💬
📌 Follow Chic Garden Whispers on Pinterest for More Garden DIYs! 🌿📌